Chapter 7
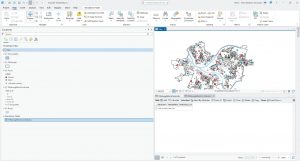
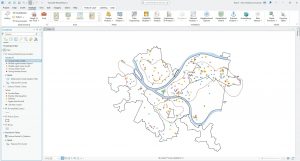
Chapter 7 was fairly straightforward to complete, introducing the concept of tracing on the map using vertices and other tools. Rotating and moving vectored shapes took a short amount of time to understand and complete, and were very helpful in the more difficult tutorials like tracing and transforming. Tutorials 1 + 2 directly followed the book except for the Your Turn section in Chapter 2. I was unable to complete it, as I was unable to find the bus symbol in general, even after searching the symbology page. After checking with a peer, we both concluded that it is either in another location, or removed from the symbology database. Additionally, in Tutorial 7-4, the CAD diagram on moved a few pixels maximum, even when the same procedure was continually ran. I could not get my diagram to align with what was shown in the book, but the command did successfully ran. After double-checking with two peers, we concluded that the actual procedure did not align with the book.
Chapter 8
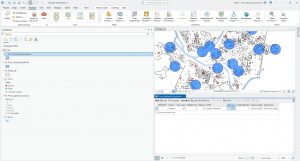
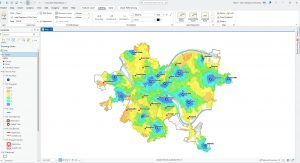
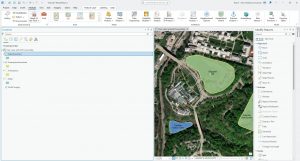
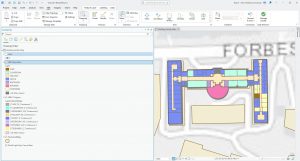
Chapter 8 was a short but helpful chapter in understanding geocoding and address location. I did not have issues with any of the tutorials, but notably, in later chapters, the tutorials do become more vague and difficult to understand at times. For example, some commands will be given to enter into a tool unprompted. While I was able to parse them out, Chapter 8 was far more difficult to understand than the earlier chapters. Additionally, I found this chapter to be helpful in understanding GIS in context, as mapping density by address or geographic factors is quite common in maps.
Chapter 9
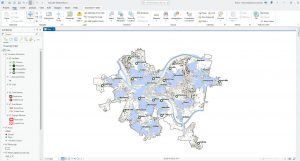
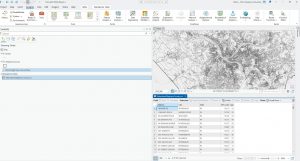
Chapter 9 marks the start of part 3 of the textbook, mainly dealing with applying previously learned knowledge. I found this chapter very helpful, especially as the final for this class deals mainly with applying our knowledge from the earlier chapters in the textbook. Unfortunately, I could not make Tutorial 9-1’s buffer zones work, but it did not impact the rest of my work for the tutorial and merely only lacked the buffer zones shown in the textbook. I was, however, able to get the Your Turn section to work, and the buffer zones did appear after I entered that command. In Tutorial 9-2, the buffer zones and Pairwise buffer tool both worked without any issues, and I was able to complete 9-2 with no subsequent issues. Tutorial 9-3 was notably more difficult to understand, and often had instructions I found unclear or had to make me retrace my steps. I understand the vague terms are because of prior GIS experience, but some of the tutorial did require me to do an internet search to understand the prompt. From there, I had no issues with Tutorial 9-4 or 9-5.