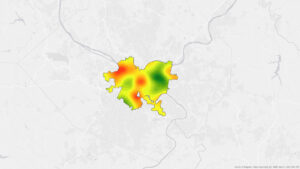
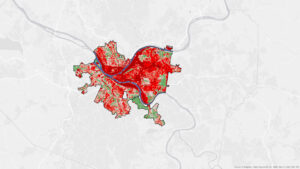
Chapter 9- This chapter went fairly quickly and I did not run into any problems during these tutorials. Overall, this chapter went more in-depth on using buffers to analyze proximity and to find what’s near something. I don’t think we’ve had to use the buffers yet (unless I’m forgetting an earlier tutorial), but I really enjoyed learning how to use them and discovering more about how to analyze what is around certain places and how you can utilize ArcGIS tools to find useful things about the data. Looking ahead to the final exam, I think this chapter will come in handy, as using buffers is one of the options for the final. In the first few tutorials, I learned how to use buffers to calculate the total number of kids near public swimming pools. I think this would be a very useful tool for businesses to ensure that they are in the optimal location for their target demographics. You can also use the buffers to set location parameters as being excellent, good, or poor in proximity to a certain location- which could influence certain policies and encourage new builds. This chapter also went over some more Python concepts, how to create scatterplots to discover linear relationships, and how to use the Multivariate Clustering tool to analyze and interpret cluster data. The chapter used those last few concepts with regard to serious crimes, but I think that this kind of analysis could be used for various other reasons.
Chapter 10- This chapter was all about rasters, and it was fairly short and straightforward. This was the first time we’ve had to really use a raster dataset, so we started out by importing it and setting parameters for the raster analysis. The first tutorial showed us how to create a hillshade map to show elevation, and how you can symbolize it to better display elevation or land use. It also showed us another way to display elevation, which is to create elevation contours. I think one thing I am beginning to understand about ArcGIS is that there are many different methods to display the same thing, but it all depends on what you want to portray and how you want people to see it. The second tutorial was all about using the Kernel Density tool to make a density map, and then how to symbolize this in a way that makes the trends easy to visualize. Finally, the end of this chapter went into creating a model using the ModelBuilder feature. This section was a little challenging, but the book explained the process very well and I was able to get my model to run. This tutorial also incorporated some more coding, which I think added another layer of difficulty to it.


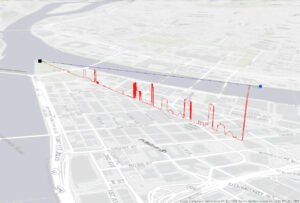
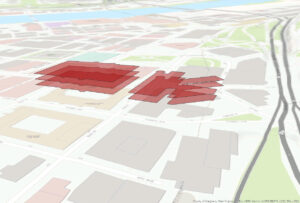
Chapter 11- The final chapter in the book was pretty short and incorporated things we haven’t learned about yet, but I actually really enjoyed some of the things this chapter covered. The first tutorial showed us how to navigate through a 3D scene. Then, the tutorial went over triangulated irregular networks (TINs). The book explained that TINs are very useful in some high-precision applications like engineering, which require lots of calculations. The third tutorial goes over to how make trees using z-enabled features, and I really liked this part. I didn’t realize that creating 3D features like this was an option, and how many options ArcGIS PRO has when it comes to symbolizing the features. The tutorial had us pick a certain kind of tree species, but there were so many options to choose from. Then the chapter went into LAS Datasets, which was a little confusing, but I was able to get it all done. I was mostly just confused about why you would need to visualize the data like this, but I’m sure there are some very specific applications where this would be beneficial. The fifth tutorial went over more 3D features and had us create floors for buildings so you can view them in 3D using a range slider. Then, we had to create 3D buildings by increasing the Z height of a 2D feature. I did have a little trouble with tutorial 6, and my building wasn’t nearly as tall as the pictures in the book, but I was still able to symbolize the building correctly (it was just very short!). Finally, the last tutorial covered how to make an animation, and I got to make a little movie that moved through 3D frames!


